JVN BEARINGS
Shop No F6, 1st Floor,
Ruby Commercial Centre,
Pumpwell, Mangalore, Karnataka.
+91- 8244052261
Ball Bearing Manufacturing Process
The manufacturing process of ball bearings typically involves several steps. Let’s break down the process step by step:
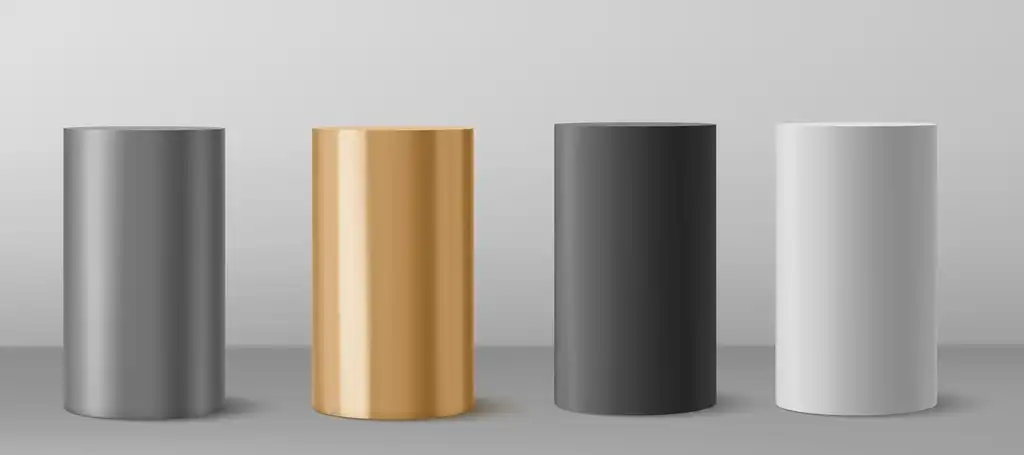
Material Selection
- In this step, manufacturers select the appropriate materials for the ball bearings. Materials such as steel, ceramic, and stainless steel are chosen based on specific application requirements. Factors considered include load capacity, rotational speed, operating temperature, corrosion resistance, and cost. Each material possesses unique strengths and weaknesses that impact the performance and lifespan of the ball bearings in their intended applications. Now, let’s delve into some details regarding the common materials used in ball bearing manufacturing:
- Steel: The most widely used material for ball bearings is steel. It offers an excellent combination of strength, hardness, and wear resistance. High-carbon chromium steel, often referred to as bearing steel, is commonly employed. Specific steel grades used may include AISI 52100, AISI 440C, or other similar alloys. These steels undergo heat treatment processes to achieve the desired hardness and toughness.
- Ceramic: Ceramic ball bearings offer several advantages over steel bearings. They are typically made from materials like silicon nitride (Si3N4) or zirconia (ZrO2). Ceramic bearings have superior corrosion resistance, are lighter in weight, have lower friction coefficients, and can operate at higher temperatures. They are commonly used in applications requiring high speeds, extreme temperatures, or resistance to harsh environments.
- Stainless Steel: Stainless steel ball bearings are primarily used in applications where corrosion resistance is crucial. They are made from various stainless steel alloys, such as AISI 304 or AISI 316, which contain high levels of chromium and nickel. Stainless steel bearings are commonly used in industries like food processing, medical equipment, and marine applications.
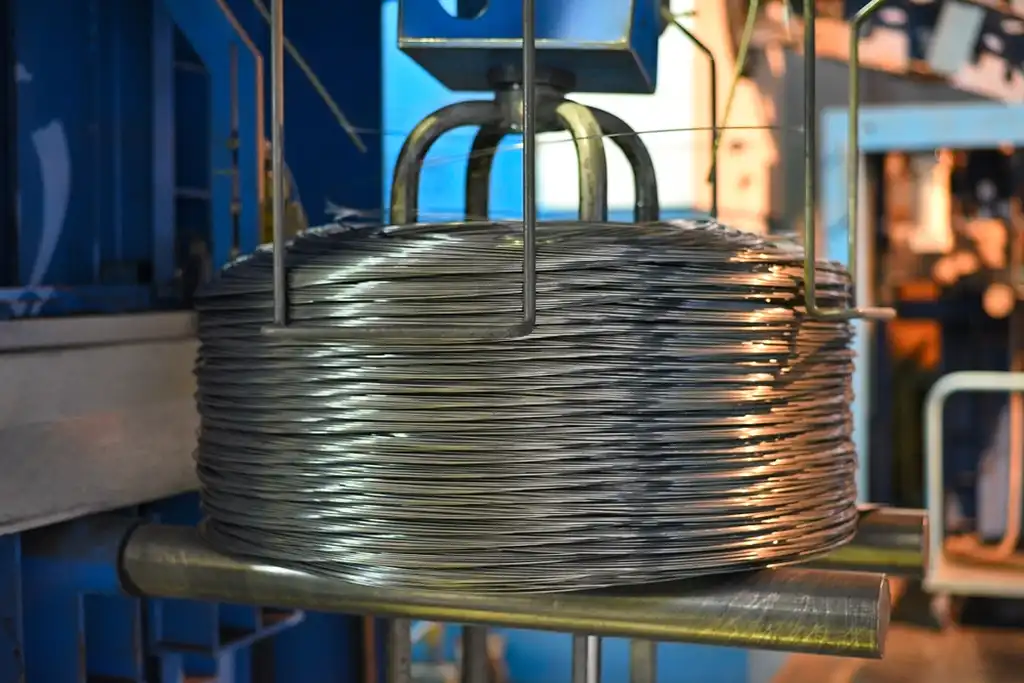
Wire Drawing
- Wire drawing involves transforming a thick wire into a thinner wire with improved surface finish and dimensional accuracy. It plays a crucial role in the ball bearing manufacturing process as it enables the production of wires with precise dimensions and improved surface characteristics. The process entails the following steps:
- Annealing: The wire undergoes annealing, which involves heating it to a specific temperature and gradually cooling it. This relieves internal stresses, enhances ductility, and prepares the wire for plastic deformation during drawing.
- Drawing Dies: Drawing dies are utilized as primary tools in the wire drawing process. These dies, typically made of hardened steel or tungsten carbide, possess tapered holes through which the wire passes. As the wire is pulled through the die, its diameter gradually reduces.
- Drawing Process: The wire drawing process typically involves multiple stages with progressively smaller dies. The wire is fed through the initial die, tension is applied, and it undergoes plastic deformation, reducing its diameter while elongating its length. The wire then passes through subsequent dies with smaller diameters until the desired wire diameter is achieved.
- Lubrication: Lubricants or drawing compounds are applied to the wire to reduce friction and facilitate the drawing process. These lubricants minimize surface damage, heat generation, and enable smooth passage through the drawing dies.
- Surface Finishing: As the wire passes through the dies, its surface undergoes refinement. The wire’s surface finish improves, and surface imperfections or defects are minimized or eliminated. This step ensures the wire’s surface is clean, smooth, and free from irregularities.
- Final Inspection: Following the wire drawing process, the drawn wire undergoes a comprehensive inspection to ensure compliance with the required specifications. This includes checking the diameter, surface quality, and dimensional accuracy. Wires that fail to meet the specified standards are rejected.
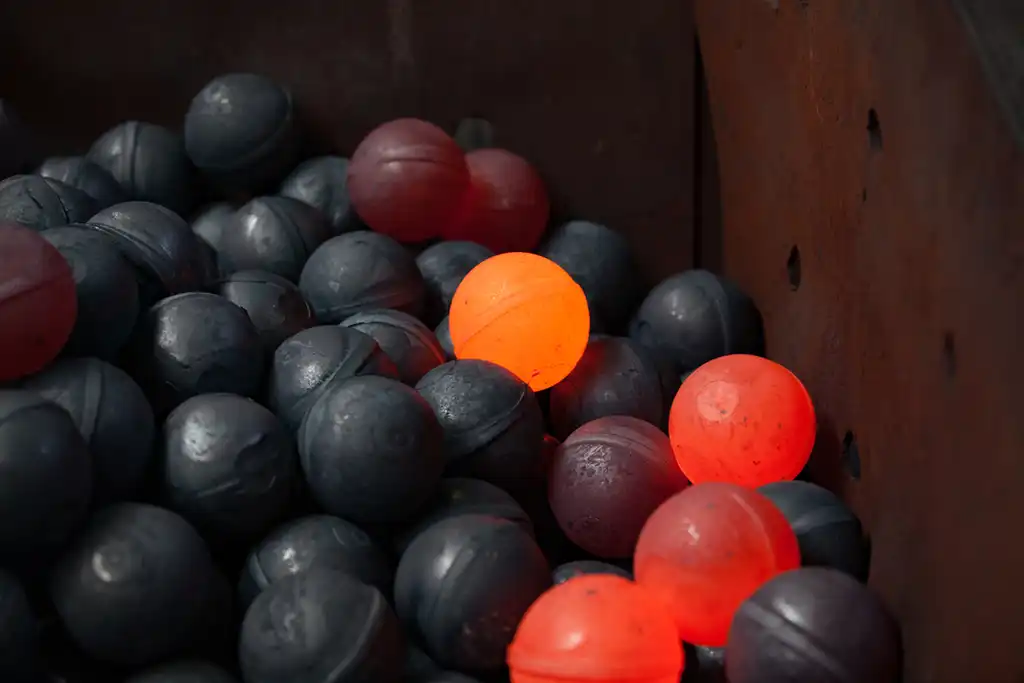
Heading
- Heading: Heading involves shaping the wire or blanks into rough spherical shapes known as flashings. This process includes the following steps:
- Blanks Preparation: The starting material for heading is typically wire that has undergone wire drawing to achieve the desired diameter and surface finish. The wire is then cut into small pieces called blanks or slug blanks.
- Heading Machine Setup: The blanks are fed into a heading machine comprising a die set, punches, and a header slide. The die set is designed to shape the blanks, while the punches and header slide apply the necessary force for deformation.
- Initial Forming: The blanks are positioned in the die set, and the header slide descends, exerting high force to deform the blanks. This force causes the blanks to flow and take the shape of the die cavities, resulting in rough spherical shapes known as flashings. It’s important to note that flashings are initially larger than the final ball bearings.
- Flash Removal: After the flashings are formed, excess material protruding from them, known as flash, needs to be removed. Specialized cutting tools are used to trim or shear off the flash from the flashings, achieving more precise shape and dimensions.
- Inspection: Following flash removal, the flashings undergo inspection to ensure they meet the specified quality standards. This inspection may involve visual examination or dimensional measurement to verify the shape, size, and surface finish of the flashings. Any flashings that fail to meet the specified criteria are rejected.
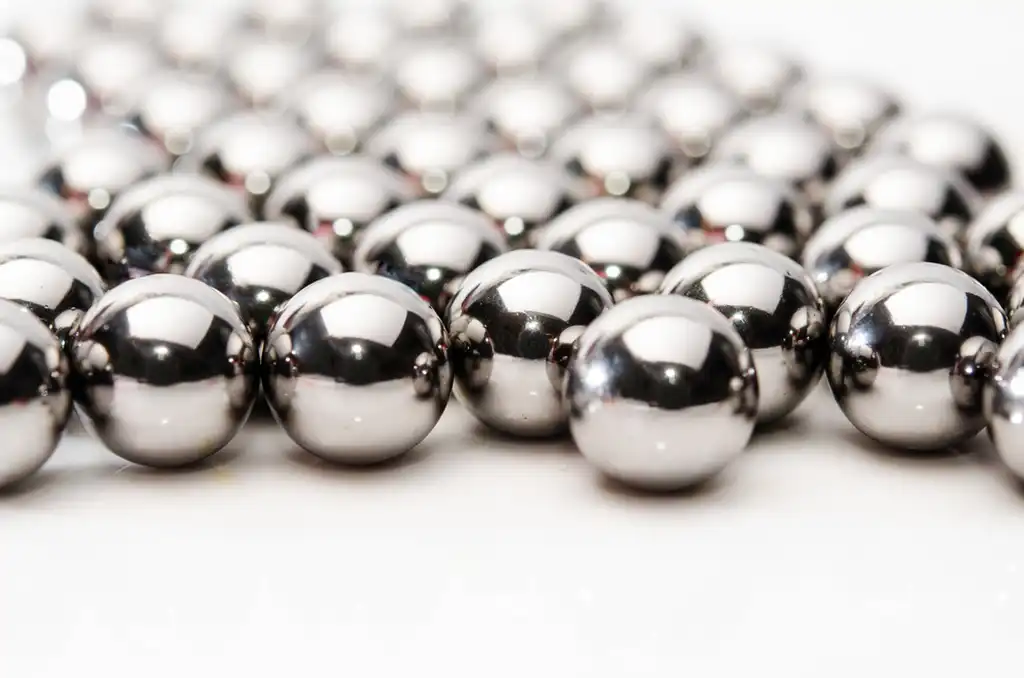
Cold Heading
- The next step in ball bearing manufacturing is the cold heading process. Cold heading is a forming operation that refines the shape of the flashings and compacts them to achieve a more precise and compacted form, closer to the final dimensions of the ball bearings. Here’s an elaboration of the cold heading process:
- Preparation: The flashings from the heading process serve as the starting material for cold heading. These flashings are still larger in size and have a rougher surface compared to the final ball bearings. They are ready to undergo further deformation and shaping.
- Cold Heading Machine Setup: The flashings are fed into a specialized cold heading machine. This machine consists of a die set, punches, and a header slide, similar to the heading machine used earlier. However, the die set and punches in the cold heading machine are designed to further refine and compress the flashings.
- Reducing Diameter and Shaping: The flashings are positioned in the die set, and the header slide applies a high force to deform them further. The flashings are compressed and flow into the cavities of the die set, reducing their diameter and refining their shape. The punches shape the flashings to achieve the desired spherical shape with improved dimensional accuracy.
- Flash Removal: Similar to the heading process, any excess material or flash that forms during cold heading needs to be removed. Specialized cutting tools or trimming mechanisms are used to shear off the flash from the formed shapes. This step ensures that the flashings are transformed into more precise and compacted forms.
- Inspection: Once the cold heading process and flash removal are complete, the formed shapes undergo inspection to ensure they meet the specified quality standards. Visual inspection and dimensional measurements are performed to verify the shape, size, and surface finish of the formed shapes. Any shapes that do not meet the required criteria are rejected.
Heat Treatment
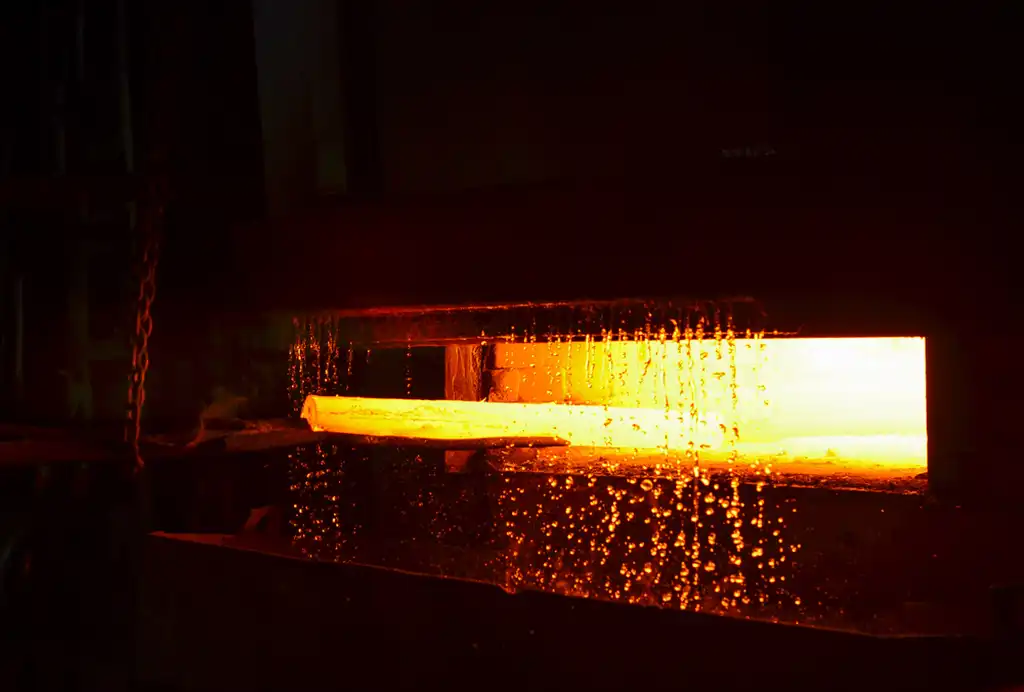
- It involves subjecting the formed shapes or raw components to controlled heating and cooling cycles to alter their mechanical properties. The heat treatment process enhances the hardness, strength, and durability of the ball bearings, ensuring optimal performance under various operating conditions. It is a crucial step in the ball bearing manufacturing process in order to ensure longevity and minimal maintenance during the bearings life. Here’s a detailed explanation of the heat treatment process:
- Preheating: The formed shapes or raw components, such as the flashings obtained from the cold heading process, are preheated to a specific temperature. Preheating helps to ensure uniform heating and prepares the material for the subsequent heat treatment steps.
- Heating: Once preheated, the components are heated to a specific temperature based on the desired material properties. The heating is typically done in a controlled atmosphere furnace to prevent oxidation or decarburization of the material. The heating temperature and time are carefully controlled to achieve the required microstructure and mechanical properties.
- Soaking: After reaching the desired heating temperature, the components are held at that temperature for a specific duration. This soaking period allows for the diffusion of atoms within the material, promoting the desired changes in microstructure and properties. The soaking time depends on the material composition, size, and desired characteristics.
- Quenching: Quenching is a rapid cooling process that follows the soaking stage. The heated components are quickly transferred into a quenching medium, such as oil, water, or polymer solution. The quenching medium cools the components rapidly, causing a transformation in their microstructure, resulting in increased hardness and strength. The specific quenching medium and cooling rate depend on the material being treated.
- Tempering: After quenching, the components are often tempered to relieve internal stresses and enhance toughness. Tempering involves reheating the components to a lower temperature and then cooling them gradually. This controlled reheating and cooling process helps to achieve the desired balance between hardness and toughness, as excessively hardened materials can be brittle. The tempering temperature and duration are carefully chosen to achieve the desired properties.
- Surface Treatment (Optional): In some cases, additional surface treatments may be applied to improve the corrosion resistance or wear resistance of the ball bearings. These treatments can include processes like case hardening, nitriding, or coating applications, depending on the specific requirements of the application.
- Inspection and Quality Control: After heat treatment, the components undergo thorough inspection to ensure they meet the required specifications. This includes dimensional checks, hardness testing, and microstructure analysis. Any components that do not meet the specified criteria may be rejected or undergo further processing.
Grinding
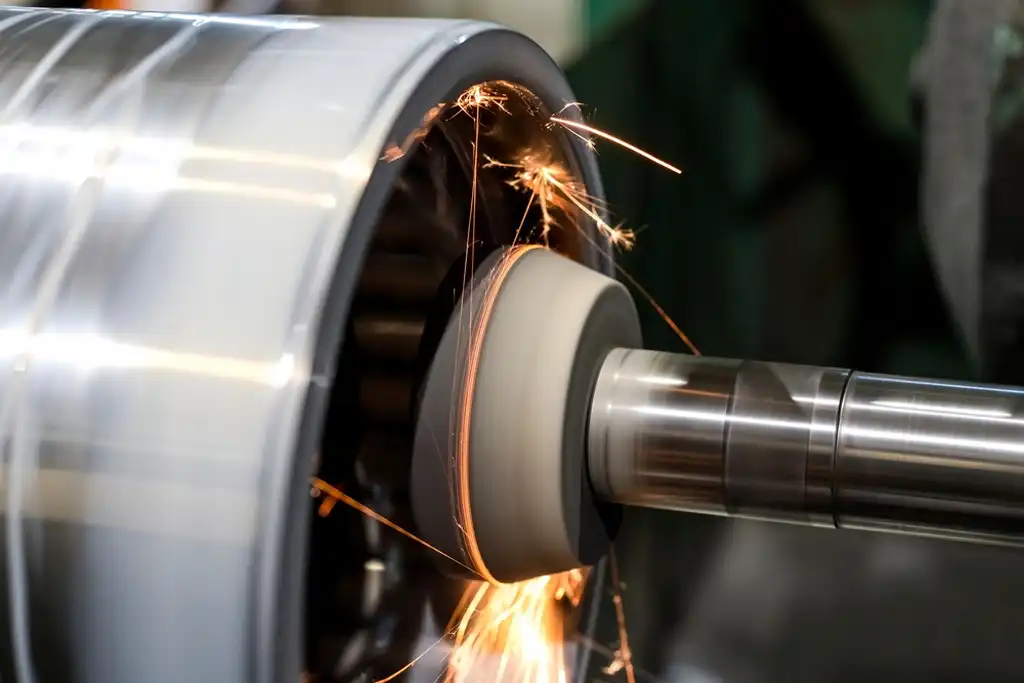
- Grinding is a precise machining process used in ball bearing manufacturing process to achieve the final shape, size, and surface finish of the ball bearing components. It involves removing small amounts of material from the surfaces of the components using abrasive wheels or belts. Grinding plays a crucial role in ensuring the dimensional accuracy, smoothness, and overall quality of the ball bearings. Here’s a detailed explanation of the grinding process:
- Component Preparation: Before grinding, the components undergo thorough cleaning to remove any contaminants or debris. They are inspected to ensure they meet the required specifications and are ready for the grinding process.
- Grinding Machine Setup: Grinding machines used in ball bearing manufacturing include precision grinding machines, such as cylindrical grinders or centerless grinders. The machine is set up with the appropriate grinding wheel or abrasive belt, along with the necessary fixtures and tooling to hold and position the components accurately.
- Rough Grinding: The grinding process begins with rough grinding, also known as stock removal. In this stage, a coarse-grit grinding wheel or abrasive belt is used to remove excess material from the surfaces of the components. The grinding wheel or belt is carefully positioned and adjusted to achieve the desired shape and size of the components.
- Finishing Grinding: After rough grinding, the components move to the finishing grinding stage. Finer-grit grinding wheels or abrasive belts are employed to achieve the final dimensions and surface finish of the ball bearings. This stage focuses on refining the shape, achieving precise tolerances, and improving the surface quality of the components.
- Coolant Application: During the grinding process, a coolant or grinding fluid is often applied to lubricate the grinding wheel or belt, cool the components, and flush away the grinding debris. The coolant helps to prevent overheating, reduce friction, and maintain the accuracy of the grinding process.
- In-process Measurement and Monitoring: To ensure the quality and consistency of the grinding process, in-process measurement and monitoring systems may be used. These systems measure and monitor parameters such as dimensional accuracy, surface roughness, and grinding forces. Any deviations or anomalies can be detected and corrected in real-time, ensuring that the grinding process produces components within the specified tolerances.
- Final Inspection: Once the grinding process is complete, the components undergo a final inspection to verify their dimensions, surface finish, and overall quality. This inspection may involve visual inspection, dimensional measurements, surface roughness analysis, and other quality control techniques. Components that meet the required specifications proceed to the next manufacturing steps, while any non-conforming components are rejected or undergo rework.
Lapping
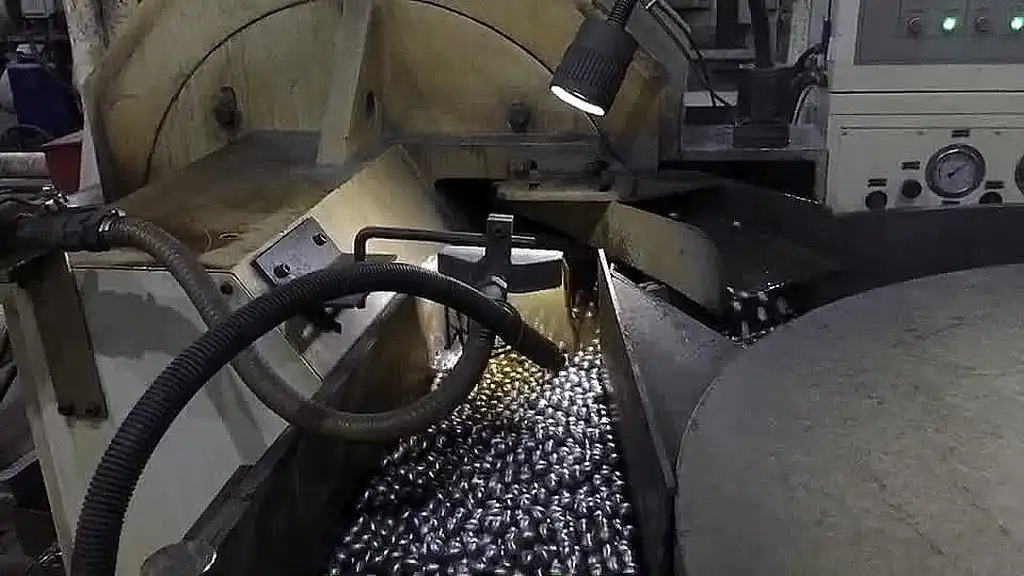
- It is a precision machining process used in ball bearing manufacturing process to achieve extremely tight tolerances, smooth surface finishes, and precise geometrical shapes. It involves the use of abrasive slurry or paste along with a rotating lap or workpiece to remove small amounts of material and improve the surface quality of the ball bearing components. Lapping is typically performed after the grinding process to further refine the surfaces and ensure optimal performance. Here’s a detailed explanation of the lapping process:
- Lapping Machine Setup: Lapping machines used in ball bearing manufacturing consist of a rotating lap or workpiece holder, a lapping plate, and an abrasive slurry or paste. The machine is set up with the appropriate lapping plate and the desired abrasive material for the specific application.
- Component Preparation: Before lapping, the ball bearing components are thoroughly cleaned to remove any contaminants or debris from the grinding process. They are inspected to ensure they meet the required specifications and are ready for the lapping process.
- Application of Abrasive Slurry: The abrasive slurry or paste is applied to the lapping plate or directly onto the ball bearing components. The slurry consists of abrasive particles suspended in a lubricating fluid. The choice of abrasive material depends on the desired surface finish, material properties, and application requirements.
- Lapping Process: The ball bearing components are carefully placed onto the rotating lap or workpiece holder and pressed against the lapping plate. The rotating motion of the lap, along with the applied pressure, causes the abrasive particles to abrade the surfaces of the components. The abrasive particles remove small amounts of material, smoothing out irregularities, and improving the surface finish.
- Control and Monitoring: During the lapping process, parameters such as pressure, speed, and duration are carefully controlled and monitored. This ensures consistent material removal and prevents over or under lapping. In some cases, in-process measurements may be performed to monitor the dimensional accuracy and surface finish during the lapping operation.
- Cleaning and Inspection: Once the lapping process is complete, the ball bearing components are thoroughly cleaned to remove any residual abrasive particles and slurry.
Assembly and Packing
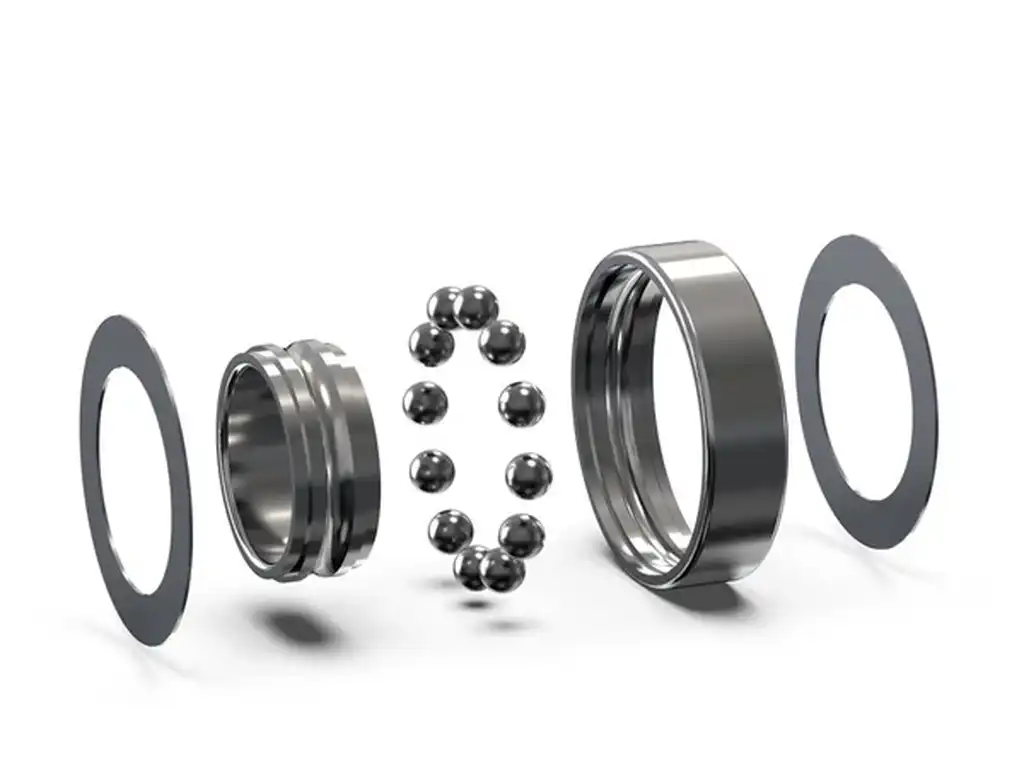
- This is the final stage in the ball bearing manufacturing process. The components are brought together and joined to create the complete ball bearing unit. The assembly process involves carefully aligning and fitting the components to ensure proper functionality, performance, and longevity of the ball bearings. Here’s a detailed explanation of the assembly process:
- Cleaning and Lubrication: The components are cleaned to remove any contaminants that may have accumulated during previous manufacturing steps. Special cleaning agents or ultrasonic cleaning may be used to achieve a high level of cleanliness. After cleaning, the components are lubricated using appropriate lubricants to reduce friction and ensure smooth operation.
- Component Alignment: The inner and outer rings are positioned correctly, and the ball bearings and cage are carefully placed within the ring assembly. Precision jigs, fixtures, or assembly machines are often used to ensure accurate alignment and positioning of the components.
- Press Fitting: In the assembly process, press fitting is commonly used to secure the components together. Presses or specialized machines are employed to apply controlled force and pressure to press-fit the components into their respective positions. This ensures a secure and tight fit between the components.
- Sealing: In some cases, ball bearings require seals or shields to protect the internal components from contamination and retain lubrication. Sealing components, such as rubber seals or metal shields, are fitted to the outer ring or between the rings to create a barrier against dust, moisture, and other external elements.
- Cleaning and Lubrication: The assembled ball bearings go through a thorough cleaning process to remove any contaminants. They are then lubricated with specialized greases or oils to reduce friction and ensure smooth operation.
- Quality Control: The final step involves rigorous quality control inspections to verify the dimensional accuracy, surface finish, and overall performance of the ball bearings. This may include testing for noise, vibration, rotational accuracy, and durability.
- Packaging: After passing the quality control tests, the ball bearings are packaged and prepared for shipment to customers.
It’s important to note that the specific ball bearing manufacturing process can vary depending on factors such as the type and size of the ball bearings being produced. Advanced technologies and automation may also be employed to streamline the production process and improve efficiency.
